|
|
Post by nicholas on Jul 13, 2013 11:11:49 GMT -7
Today I sanded back yesterdays coats again with 2000. I put on two more coats as the weather is decent again, at least earlier it was. It went well, no blush or cloudy spots. I think this will be it for the nitro. Judging from the build up on my progress board I have plenty, its about as thick as 3 sheets of typing paper. I can't see a reason to make it thicker. I'll probably sand 25% of it off, but it should still be thick enough to last. Now I'll let it hang for a few days. Then wet sand. I'll post some pics of that as well.
This spray can nitro is really nice. It has two nozzles. A round spray pattern (red) and a vertical oval pattern(white). I've been using the oval pattern and really like it. It works well to get into the cutouts without a run or sag. It's a great spray pattern. When I mention "coat" I should also mention "pass". For each coat I have been making 3 light overlapping passes. First the sides and cutouts, then the edges, then the front and back, then neck. The sides and edges are where a sand through will be most likely, so I hit them first, then again when I do the front and back. During my in between sanding I am taking care to "reshape" the rounded body edges.
|
|
|
|
Post by nicholas on Jul 13, 2013 12:27:41 GMT -7
Something else worth mentioning.... because I did my grain filler/stain/sanding sealer before setting the neck there was a bit of a gap visible around the neck joint. I really shouldn't say gap, but had I set the neck first the sanding sealer would have filled it. From my practice it was hard to fill gaps or low spots with lacquer. So before I started spraying lacquer and after setting the neck I hit those spots up with sanding sealer until smooth and sanded level. I am also hitting that area before, during and after my spray sessions. I need a little thicker lacquer in that spot to make my final sanding easier. Call it a safety cushion.
|
|
|
|
Post by nicholas on Jul 18, 2013 15:54:50 GMT -7
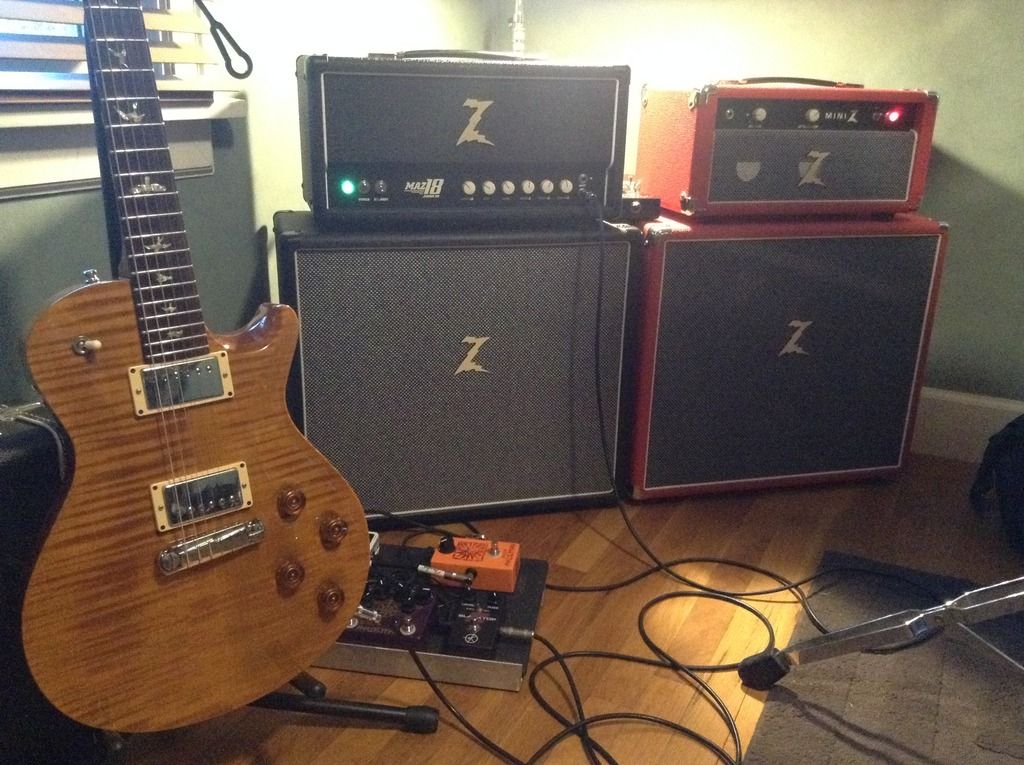
The oppressive heat is slowing me down  . It's been over 90 every day. Garage temps over 100 I'm sure, so I feel it unsafe to leave the guitar in there. It now hangs in my "studio". I did manage to do some wet sanding. Going to try to set up an area in the house. Here's a few pics: First few passes with 1000 grit. Gotta get all the orange peel off. Once the orange peel is gone then I just need to remove the sanding scratches.  After a little more:  After a little more, then going to 1500 and then 2000.  I've finished the front and back, still have to do the sides, neck, and headstock. Next week looks more bearable for the weather. I'll try to bang out as much as I can. |
|
|
|
Post by Jacques Belanger on Jul 18, 2013 18:20:40 GMT -7
Patience young grasshopper..... Having the Clearcoat dry a little longer is not a bad thing.  |
|
|
|
Post by Pete aka shouldb on Jul 20, 2013 13:40:47 GMT -7
30 DAYS?? We have to wait 30 DAYS?? (sorry, YOU have to wait 30 days??) Man, this is one beautiful guitar! Make sure you do a video when the time comes - I would love to see/hear this baby in action!  |
|
|
|
Post by nicholas on Jul 25, 2013 20:09:20 GMT -7
Did some more wet sanding today. I used this stuff:  It comes as a kit with a foam block. It starts at 1500 grit and goes up to 12,000. I've finish sanded the entire guitar to 12,000 grit. Looks like this now:  I'll let it set for a few more weeks. Then polishing will begin. Still have to finish the pick guard, and cut the nut. But it's coming along well. |
|
|
|
Post by BritInvasion on Jul 26, 2013 7:03:41 GMT -7
Oh man that's beautiful!!
|
|
|
|
Post by Dannydny on Jul 26, 2013 7:36:55 GMT -7
Sweet!
|
|
|
|
Post by bwc on Jul 26, 2013 9:14:24 GMT -7
I really dig how this is coming along, thanks for sharing!
|
|
|
|
Post by nicholas on Aug 2, 2013 12:58:14 GMT -7
I did some more work on the kit today. I did my final polish. It came out great. I used 3M machine polish. To apply I first used a denim wheel, then cotton wheel followed by a foam pad. I use this same routine polishing aluminum to a chrome like finish. So I stuck with it for the guitar. The stuff....  I also sheilded the pickup cavity with copper tape. Note the ground wire soldered to the tape in the right corner. I ran the wire to the control cavity shielding and soldered there as well. The grounded pots pressed against it will be the ground connection.  When shielding the control cavity I folded over the edge of the tape over the lip. I also lined the back of the control cover. When I install the cover the shielding on it will make contact with my folded over edges and create an impenetrable fortress  .  I also wired her up and installed the input jack and plate. I used CTS 250K pots and an Emerson paper in oil cap wired 50's style. I used waxed cloth covered wire. I finished the pickguard as well. I mounted it with the tape used for acoustic guitar pickguards. It looks clean without the screws. And on this guitar the only reason to ever take it off would be to remove the neck. I installed the tuners. The guitar is done except for cutting the nut. It really looks awesome. I'm gonna hold out on more pics until it's complete. |
|
|
|
Post by limenine on Aug 2, 2013 13:18:18 GMT -7
Impressive - and inspiring - build. Well done, sir!
|
|
|
|
Post by Jefferson on Aug 2, 2013 18:20:39 GMT -7
CUT THAT NUT! And get those pics up quick...please!
|
|
Deleted
Deleted Member
Posts: 0
|
Post by Deleted on Aug 2, 2013 18:33:30 GMT -7
CUT THAT NUT! And get those pics up quick...please! What he said! |
|
Deleted
Deleted Member
Posts: 0
|
Post by Deleted on Aug 2, 2013 19:59:41 GMT -7
What a great thread! Lots of great info here for aspiring hobbyists.
Thanks for taking the time to document and take pictures of your process. The info is very cool and MUCH appreciated.
|
|
|
|
Post by KeithA on Aug 3, 2013 6:58:43 GMT -7
Looks good Nik
Keith
|
|
|
|
Post by nicholas on Aug 3, 2013 10:13:01 GMT -7
Thanks all! This really has been a lot of fun. And to be honest, taking pics and documenting here was equally fun. I hope this thread comes in handy for someone thinking about putting together a kit. I will do another one..... but not for a while. It's a ton of work and as much as I enjoyed it.... I'm also glad it's just about over lol.
If anyone has interest in doing something like this for a hobby, or to learn stuff and happen to have the time and space to do it... go for it. This would make a great father/son project. If you think of it as a way to save a few bucks on a guitar and want to play it next weekend.... pass on it. I spent a lot of $$$$ on this. Mostly on tools and practice supplies. But now I have the tools and a little more knowledge. So the next one should be cheaper, build faster, and be better.
Mounting the pickup, and wiring it up was the most rewarding step so far. Even though I've done that stuff many times... just laying all that stuff out on my workbench after sitting in a box since the start of this project was a great feeling. Nothing like the smell of a soldering iron warming up to imply the end of one journey, and the beginning of another. This guitar will simply be known as "Uno".
Order in to stewmac for a string spacing gauge and nut files. Gonna be a few weeks unfortunately until I have the time....
|
|
|
|
Post by nicholas on Aug 27, 2013 16:46:34 GMT -7
Finally! She be done! I did run into a snag cutting the nut. I tried three times, then took it to a local pro. I had it playable but not where I wanted it, or where I thought it should be. So he cut a nut for me. Holy smokes this little girl plays! I'm so excited. Just strumming it unplugged the neck and body vibrate like a tuning fork. It plays so frickin' good and sounds unbelievable. Mojo? Yes. There is something highly rewarding of plugging in that guitar that I built myself. I'm really proud of my creation. I've walked through the door plenty of times with a store bought guitar that I've been drooling over all excited to play it. This is different. Very different. That Duncan P90 is awesome. It rips. The local pro was really impressed and we chatted it up for along time. He wanted to know how I did everything and sincerely was very interested. I gave him all my messed up nuts and he showed me where I went wrong. So on the next one I should have better luck. I really wanted to do it all myself.... but I also wanted it to play. When I can pry it out of my hands for a few hours I'll put on the strap buttons and make up a truss rod cover. But it looks kinda nice without it. I kept it masked up well, so its clean looking. When I get a chance I'll get out the good camera. These pics do it no justice. It looks much more vibrant in person. Here she be. Meet Uno:       |
|
Deleted
Deleted Member
Posts: 0
|
Post by Deleted on Aug 27, 2013 17:06:04 GMT -7
Nice!
|
|
|
|
Post by markT on Aug 27, 2013 17:33:12 GMT -7
WOWZER!! Amazing work. I've enjoyed this time elapsed thread. And your work is, like I said, amazing. Great job my friend.
Looks like a rocker!!
|
|
|
|
Post by cap10toons on Aug 27, 2013 18:39:52 GMT -7
Okay I'm the first to say UNO. Don't I win?  Beautiful!! Just Beautiful!! |
|
|
|
Post by "Z" Steve on Aug 27, 2013 19:17:37 GMT -7
Like the others, I've been following this thread from the git-go. I know this guitar was made to be played but dayum it sure is gorgeous. Once you've gotten some of the excitement mellowed out you need to let us know whet you plan on building next!
Congrats on a beautiful instrument Nicholas.
|
|
|
|
Post by BritInvasion on Aug 27, 2013 19:19:14 GMT -7
Outstanding Nick! Congrats on a job well done and thanks for sharing the whole process with us. Fantastic work , a real beauty. (Now howsa 'bout building one for me ) |
|
|
|
Post by bwc on Aug 27, 2013 19:59:32 GMT -7
That's really amazing, thanks so much for putting the time into all of the updates on this thread. Someday I hope to build one of these with my dad and this will be a great reference. Enjoy!
|
|
|
|
Post by Dustin on Aug 27, 2013 20:38:42 GMT -7
Wow: that finish/color is awesome! You're a much more patient man than I would be Bet it plays even better than it looks! |
|
|
|
Post by Harvey on Aug 27, 2013 20:42:25 GMT -7
Beautiful job...
|
|
|
|
Post by Jefferson on Aug 27, 2013 22:15:22 GMT -7
WOW! Very well done. You should be very proud of that! Thanks for chronicling this. Save your notes...
|
|
|
|
Post by Alan M (aka 'Milky') on Aug 28, 2013 0:52:55 GMT -7
Absolutely beautiful!! Congrats on a great job Nick. That's gonna be a real rocker for sure. I just love Jr's. |
|
Deleted
Deleted Member
Posts: 0
|
Post by Deleted on Aug 28, 2013 1:32:32 GMT -7
That is gorgeous. Thanks for sharing.
Wish I could hear it.
|
|
|
|
Post by Christopher on Aug 28, 2013 4:54:54 GMT -7
Congrats on the completed build. That's a great looking guitar. So when do you start #2?
|
|
|
|
Post by jimiata on Aug 28, 2013 5:20:42 GMT -7
Wow, nice build; patience paid off.
Jim
|
|


 . It's been over 90 every day. Garage temps over 100 I'm sure, so I feel it unsafe to leave the guitar in there. It now hangs in my "studio". I did manage to do some wet sanding. Going to try to set up an area in the house. Here's a few pics:


 .
.