Post by Lefty on Jun 27, 2008 6:26:37 GMT -7
By popular demand here it is. Please post a picture of yourself not someone else, no nudity (obviously), a clear picture is best, with or without your Z is ok. Please observe the size restrictions to preserve the bandwidth and page load time. Please limit it to one photo and a brief description.
Disclaimer: I take no responsibility for hosting or maintenance of the photos posted here. If a photo is deemed inappropriate, the photo will be removed and the member contacted. Once photos are posted they become public domain.
Hosting
Your image will need to be hosted at a web hosting site for images, such as imageshack.com, flickr.com, photobucket.com or other. Be sure they allow remote linking of images, or in the case of flickr, make sure you set your account that way.
Image Size
Your image should be no larger than 360W x 480H (portrait) or 480W x 360H (landscape) to save bandwidth. You can resize your image several ways. The low tech way is to use MS Paint which comes with Windows. The method is to open your image with Paint, then use Image > Stretch and enter the percent of reduction you want. Use Image > Attributes to inspect the dimensions of the image. This is real hit and miss, but you already have this software.
Of course you can use any other photo editor such as Photoshop, Photoshop Elements, Paint Shop Pro, or whatever came with your camera. An easier alternative method is to use an online picture scaling service such as www.resize2mail.com/. You upload your picture, choose the dimensions you want, then it emails the scaled image back to your email address.
Linking
Once you have scaled your image, and uploaded it to Photobucket or other host, it is time to link to it here on the forum. Go to the Members Gallery and choose Reply to get a new message at the bottom of the thread. Enter whatever text you are motivated to enter, then where you want your image, click on the image tag button. The image tag button is on the second line of buttons identified with “Add Tags:” and it is the fourth button from the left. Its appearance is of a photo in a frame.
When you click the image tag button, you get a set of bracketed image tags as seen in the first line in the following image:

Put your cursor between the two tags and either type the full URL to your image location, or go to your image, right click on it and choose Copy Image Location, then come back to the message you are creating and paste the URL between the tags. The result should look like the second line in the picture above.
Personal Information
Since you are the one entering your message, others on the forum can readily inspect your profile by clicking on your screen name in the left pane. If you change your screen name a lot, you might want to include your base screen name in the text of your message with your image. You might also want to include your real name. None of these is required – it is up to you how much you want to reveal about yourself.
Thanks goes out to Benttop for the tutorial and gallery idea.
Disclaimer: I take no responsibility for hosting or maintenance of the photos posted here. If a photo is deemed inappropriate, the photo will be removed and the member contacted. Once photos are posted they become public domain.
Hosting
Your image will need to be hosted at a web hosting site for images, such as imageshack.com, flickr.com, photobucket.com or other. Be sure they allow remote linking of images, or in the case of flickr, make sure you set your account that way.
Image Size
Your image should be no larger than 360W x 480H (portrait) or 480W x 360H (landscape) to save bandwidth. You can resize your image several ways. The low tech way is to use MS Paint which comes with Windows. The method is to open your image with Paint, then use Image > Stretch and enter the percent of reduction you want. Use Image > Attributes to inspect the dimensions of the image. This is real hit and miss, but you already have this software.
Of course you can use any other photo editor such as Photoshop, Photoshop Elements, Paint Shop Pro, or whatever came with your camera. An easier alternative method is to use an online picture scaling service such as www.resize2mail.com/. You upload your picture, choose the dimensions you want, then it emails the scaled image back to your email address.
Linking
Once you have scaled your image, and uploaded it to Photobucket or other host, it is time to link to it here on the forum. Go to the Members Gallery and choose Reply to get a new message at the bottom of the thread. Enter whatever text you are motivated to enter, then where you want your image, click on the image tag button. The image tag button is on the second line of buttons identified with “Add Tags:” and it is the fourth button from the left. Its appearance is of a photo in a frame.
When you click the image tag button, you get a set of bracketed image tags as seen in the first line in the following image:
Put your cursor between the two tags and either type the full URL to your image location, or go to your image, right click on it and choose Copy Image Location, then come back to the message you are creating and paste the URL between the tags. The result should look like the second line in the picture above.
Personal Information
Since you are the one entering your message, others on the forum can readily inspect your profile by clicking on your screen name in the left pane. If you change your screen name a lot, you might want to include your base screen name in the text of your message with your image. You might also want to include your real name. None of these is required – it is up to you how much you want to reveal about yourself.
Thanks goes out to Benttop for the tutorial and gallery idea.


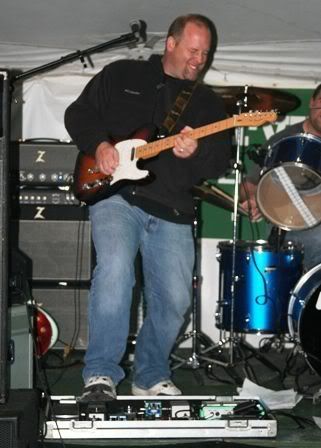
 ) and my Z hat that I got for Fathers' Day!
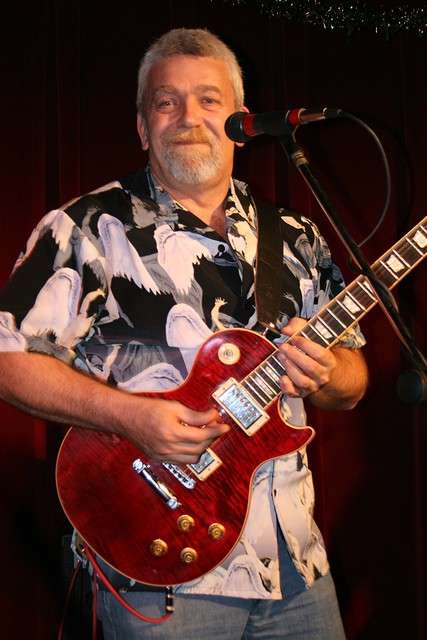